Get instant support with our search!
How to allowlist (whitelist) in Trend Micro

Allowlisting by Domain in Trend Micro
The allowlisting process is broken down into 5 sections, with each having its own configuration steps that must be completed to successfully allowlist a domain.
1. Advanced Spam Protection
- Navigate to Advanced Threat Protection > Add.
- Select the policy to create based on the service:
- Exchange
- OneDrive
- SharePoint
- Box
- Dropbox
- On the left, select Advanced Spam Protection.
- Check Enable Advanced Spam Protection.
- Select Approved/Blocked Sender List.
- Check the box next to Enable the approved sender list.
- Enter *@domain in the text field (this should be the phishing domain used for your phishing simulation) and click the Add > button.
- Select the Rules configuration section.
- Under the Apply to drop-down, select Incoming messages.
- For Detection Level, select Medium.
2. Malware Scanning
- On the left, select Malware Scanning.
- Select the Rules configuration section.
- Under the Apply to drop-down, select All messages.
- Under Malware Scanning, select Scan all files.
- Check both:
- Scan message body
- Enable IntelliTrap
- Select the Action configuration section.
- For Action, select the Trend Micro recommend actions option from the drop-down.
- For Notification, select Notify.
3. File Blocking
- On the left, select File Blocking > Enable File Blocking.
- We recommend keeping File Blocking enabled, as it cannot be limited to MetaCompliance messages. Disabling it may allow potentially malicious attachments to reach your users.
4. Web Reputation
- On the left, select Web Reputation.
- Check Enable Web Reputation.
- Select the Rules configuration section.
- Under the Apply to drop-down, select All messages.
- For Security Level, select Medium.
- Select Approved/Blocked URL List.
- Check Enable the approved URL list.
- Check Add internal domains to the approved URL list.
- Enter your host names in the text field.
- Then, click the Add > button.
5. Virtual Analyzer
- On the left, select Virtual Analyzer.
- Check Enable Virtual Analyzer.
- Click Save.
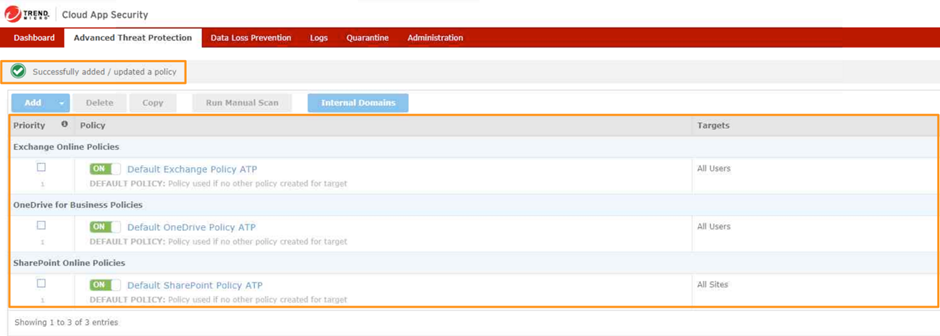
- Once all steps in each section have been completed, your new policy will appear under the Advanced Threat Protection tab.